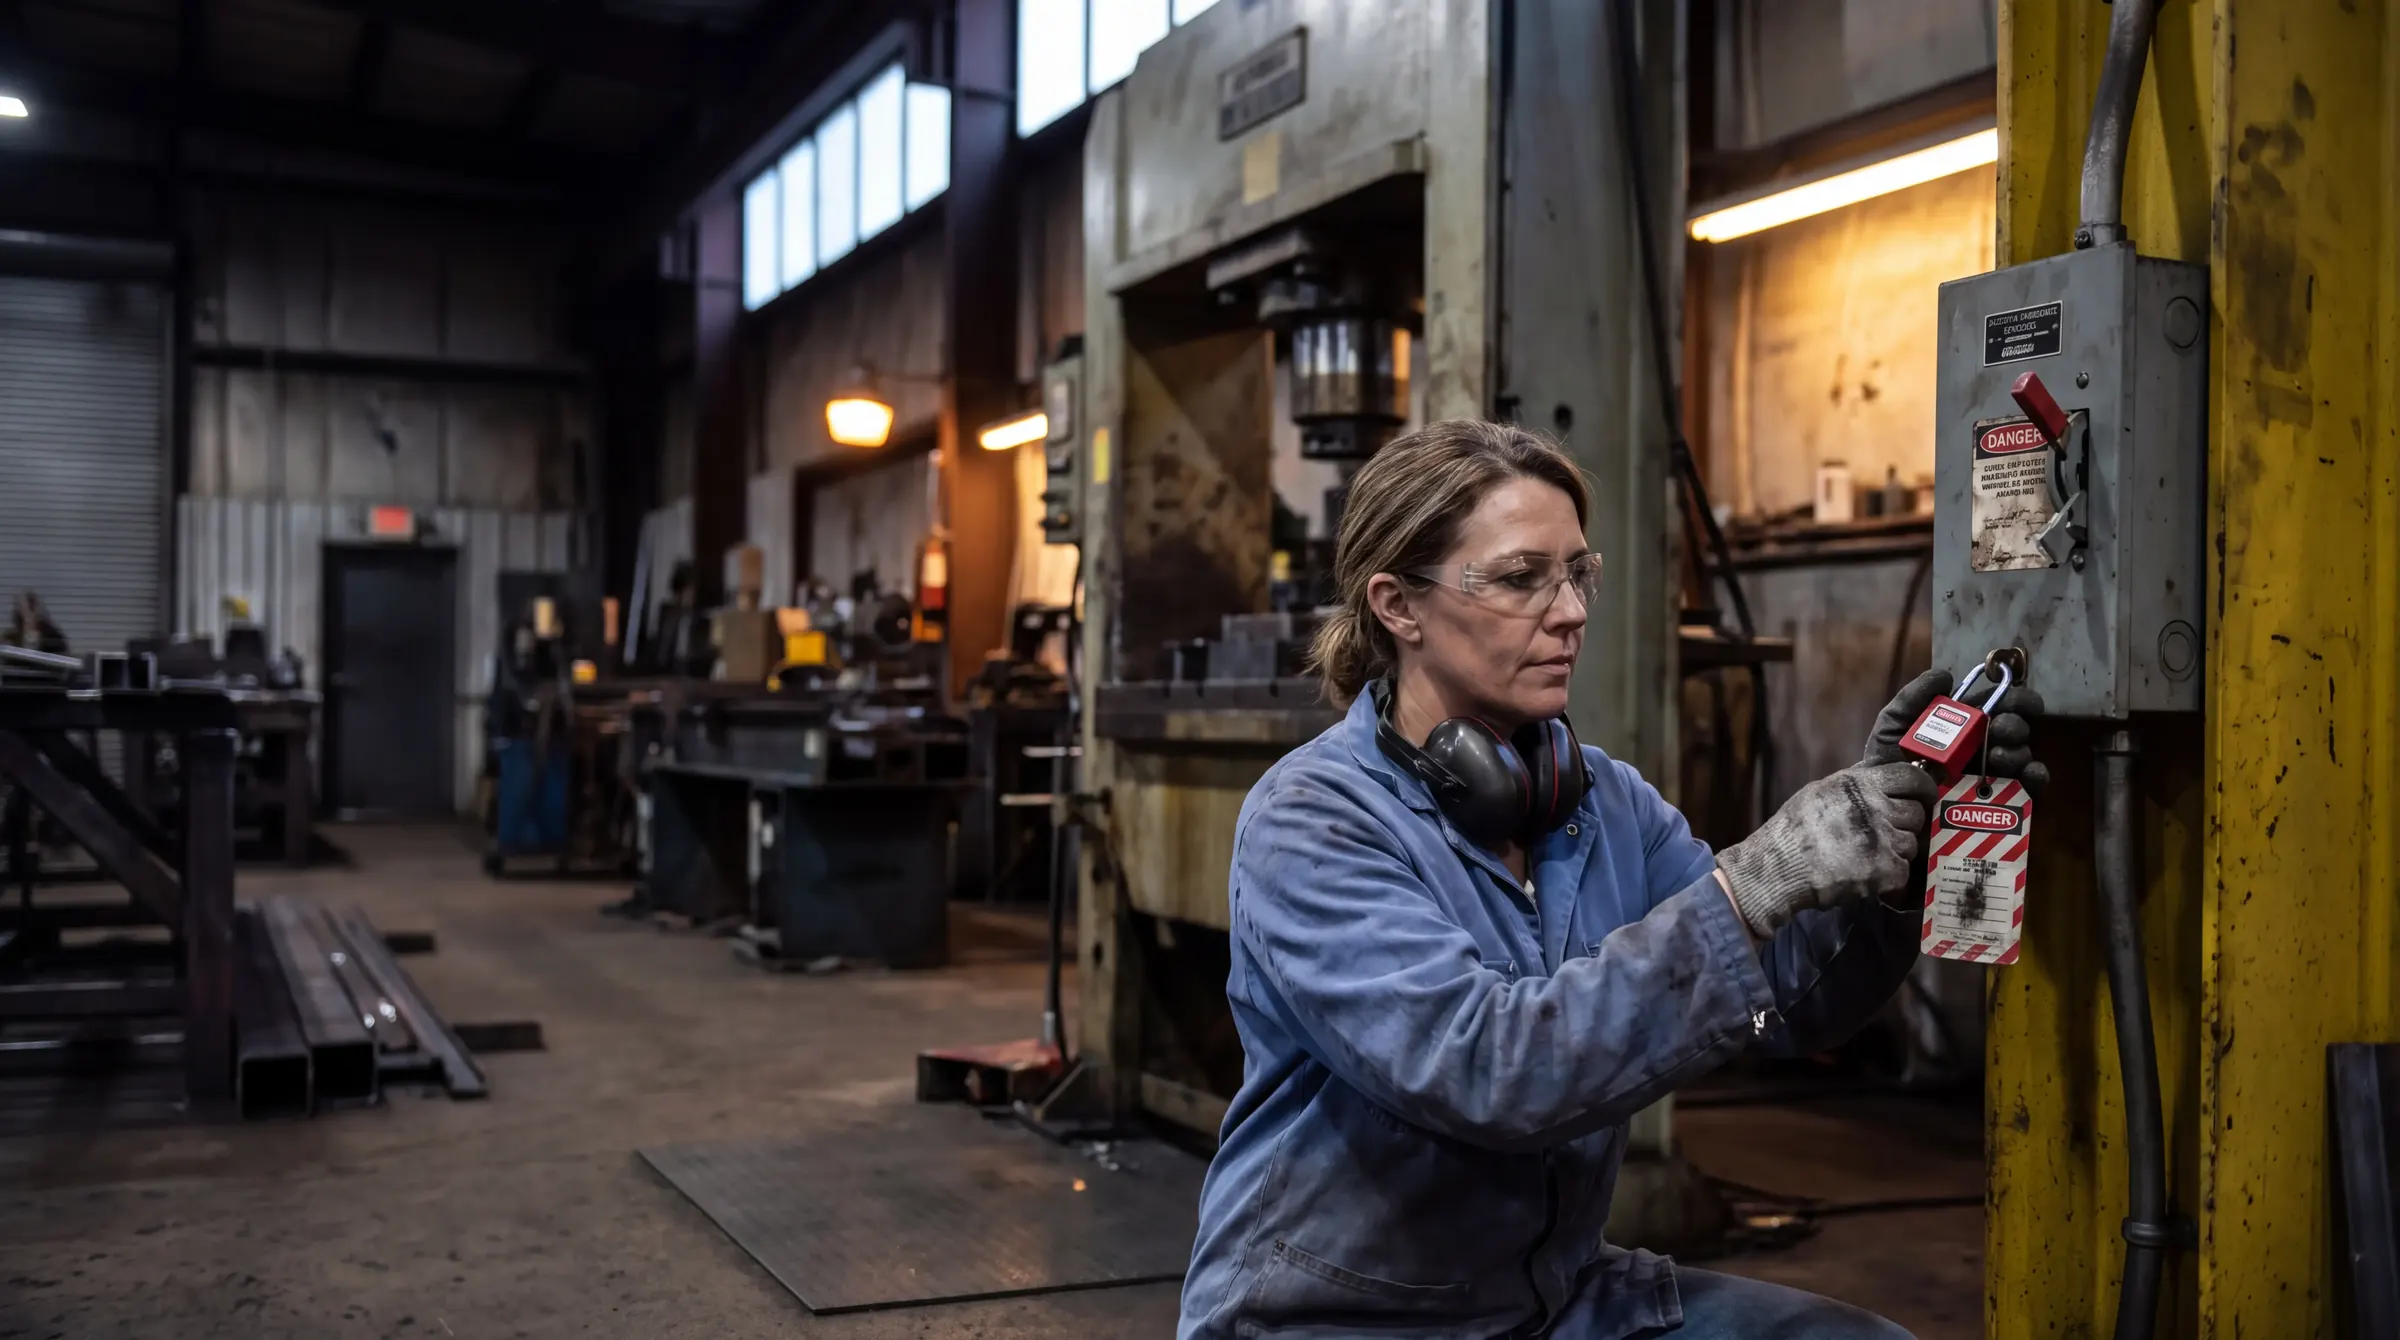
A lockout procedure for every machine. Posted this week.
List a machine's energy sources and get the placard your crew follows at the machine, plus the written procedure an inspector asks to see. Checked against OSHA 1910.147 before it prints.
Write my first procedureSee the machines
$19 a machine. No account, no subscription.
One machine, three pages.
What goes on the machine, what goes in the binder, and what you sign once a year.
-
On the machine
The placard
The energy table with a colored code for every source, the isolation points with a box for a photo of each, the lockout steps in order and the return-to-service steps. Laminate it and zip-tie it to the guard.
-
In the binder
The written procedure
Purpose, authorization, the steps to shut down, isolate, block and secure, placing and removing locks and tags (shift changes and group lockout included), testing and verification. The four parts 1910.147(c)(4)(ii) names.
-
Once a year
The inspection record
What the inspector checks on this machine and a sign-off table for the periodic inspection that 1910.147(c)(6) requires at least once a year.
Minutes per machine, not an afternoon in Word.
Most plants start from a blank template and stall at machine five. Here you pick the machine, fix the sources to match yours, and the steps are written in the order the standard sets out.
- Every placard reads the same way
- Same codes, same order, on the press and on the compressor. A tech who has read one has read them all.
- Ready when the inspector asks
- A machine-specific procedure for each machine, and the yearly inspection sheet beside it, in one PDF per machine.
- Nothing missed at the machine
- The second source, the air still in the cylinder, the ram that drops: the checks ask for each one before the procedure is written.
Start from your machine.
39 machines with their usual energy sources filled in. Change anything to match yours.
-
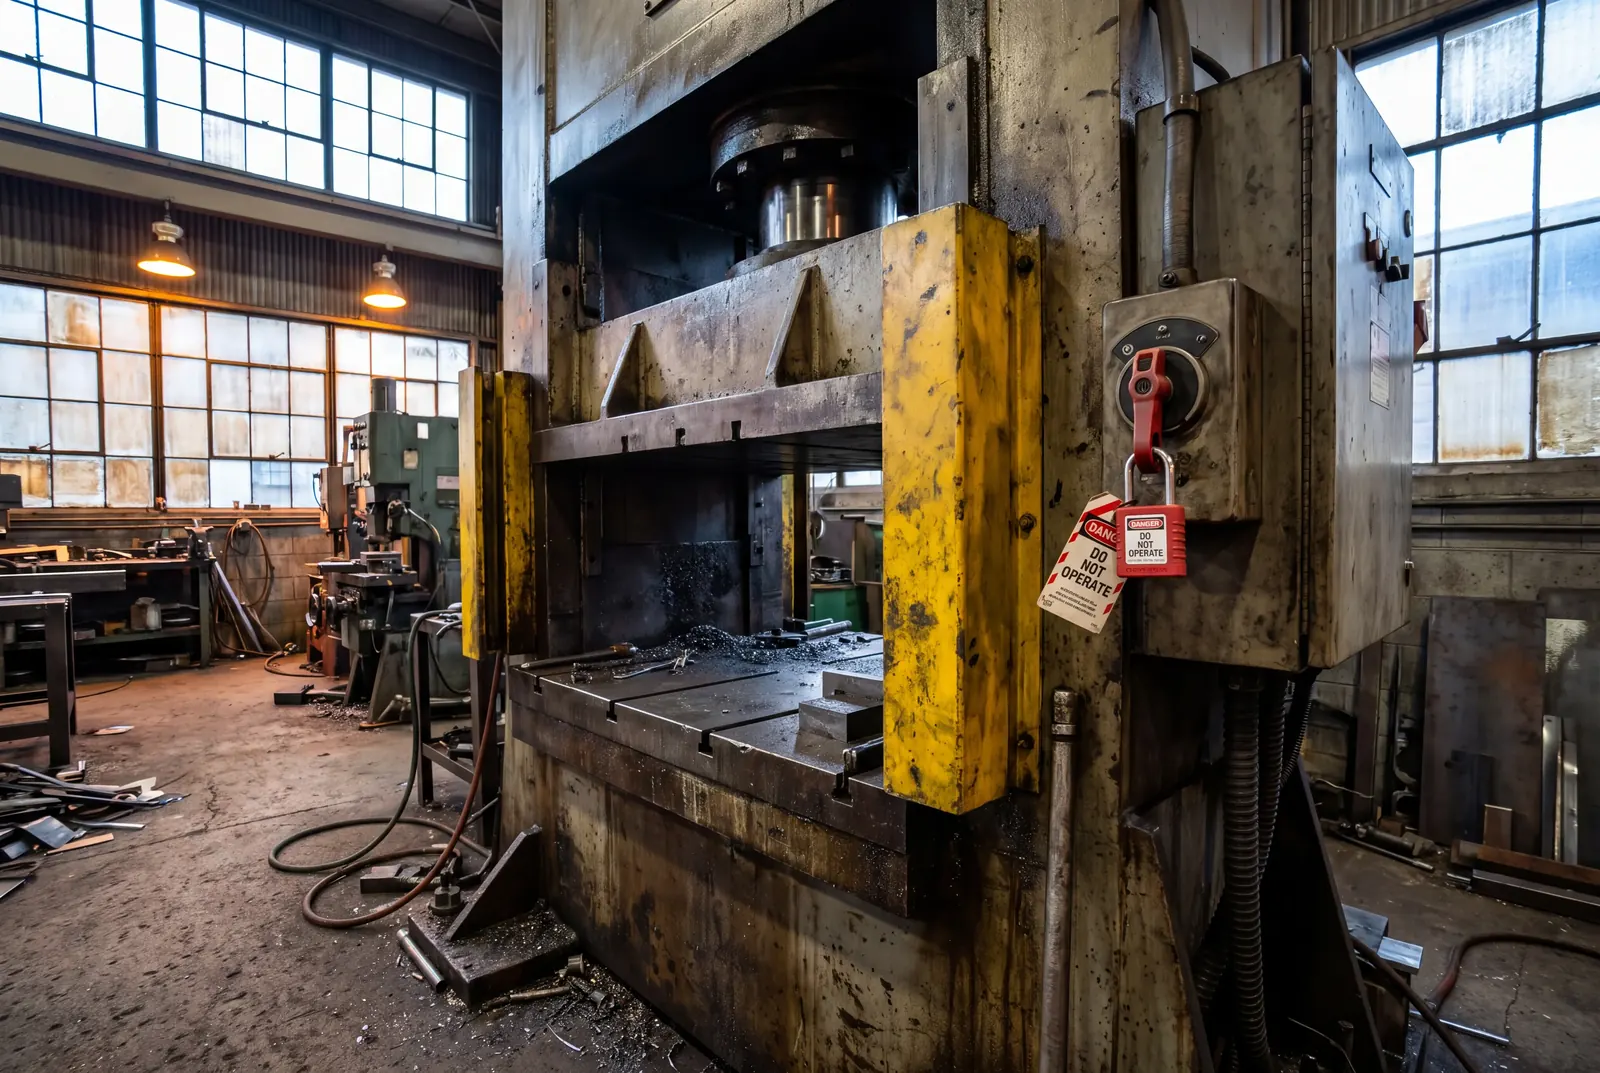 Presses and metalworkingHydraulic press, Mechanical power press, Press brake, Power shear, CNC mill and more
-
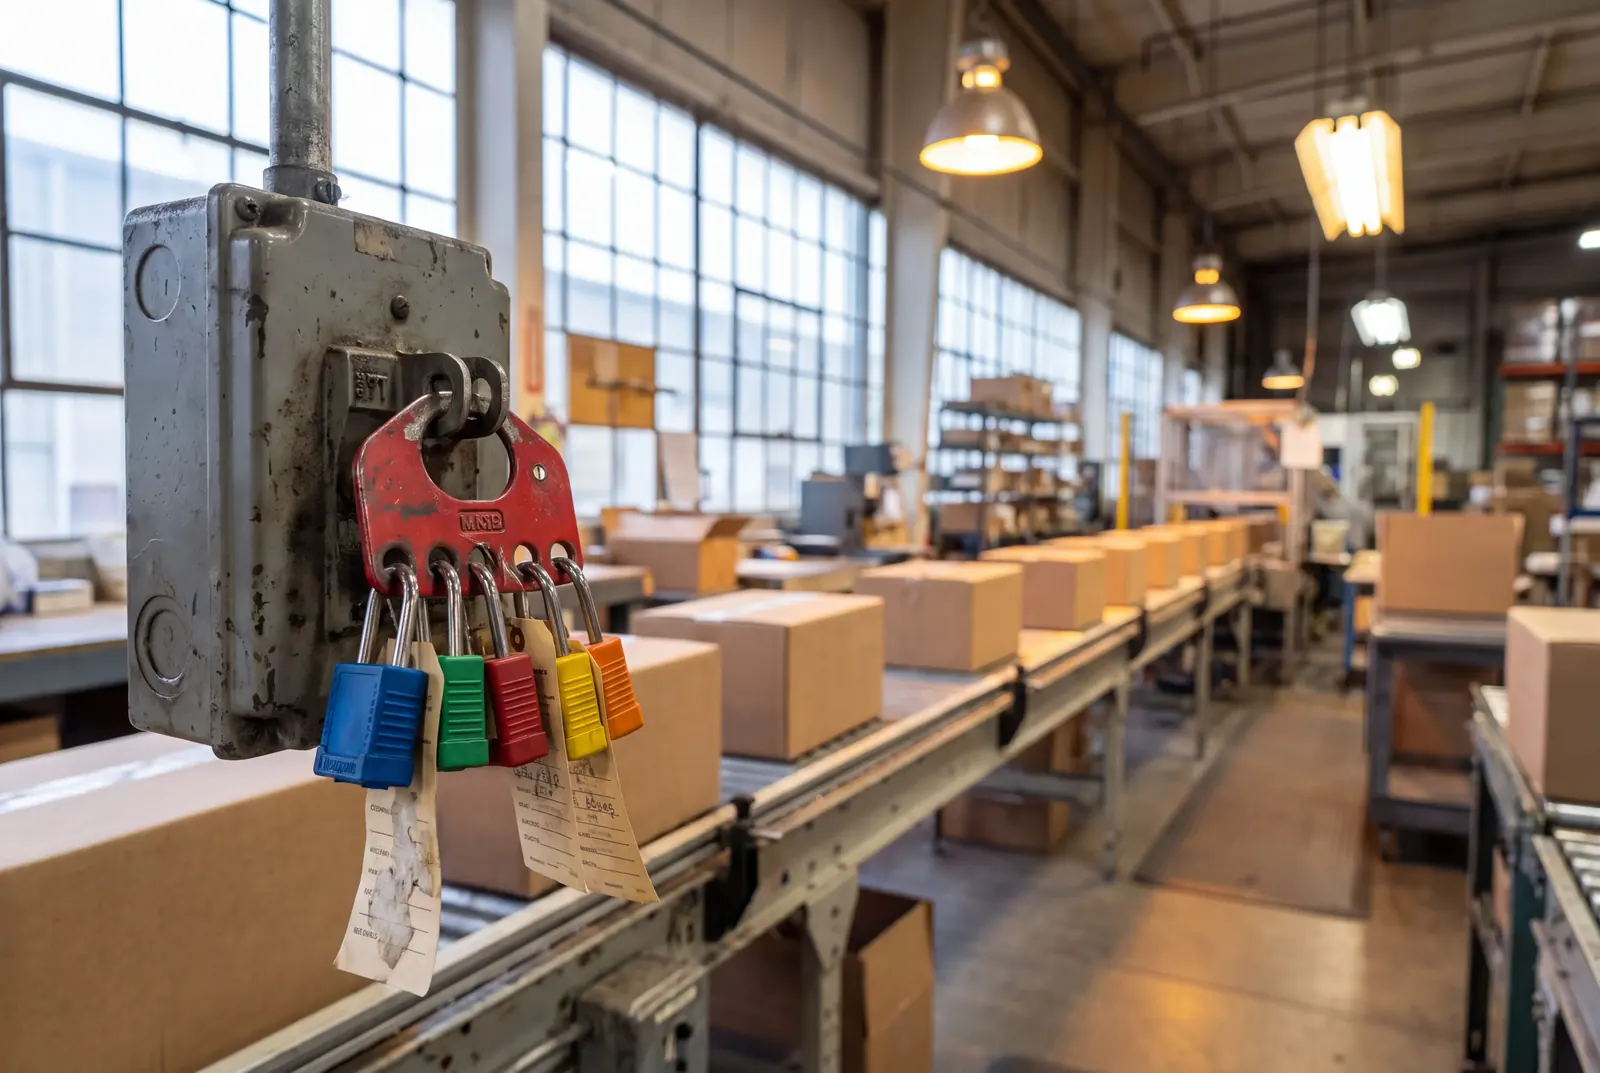 Conveyors and packagingBelt conveyor, Powered roller conveyor, Palletizer, Stretch wrapper, Cardboard baler and more
-
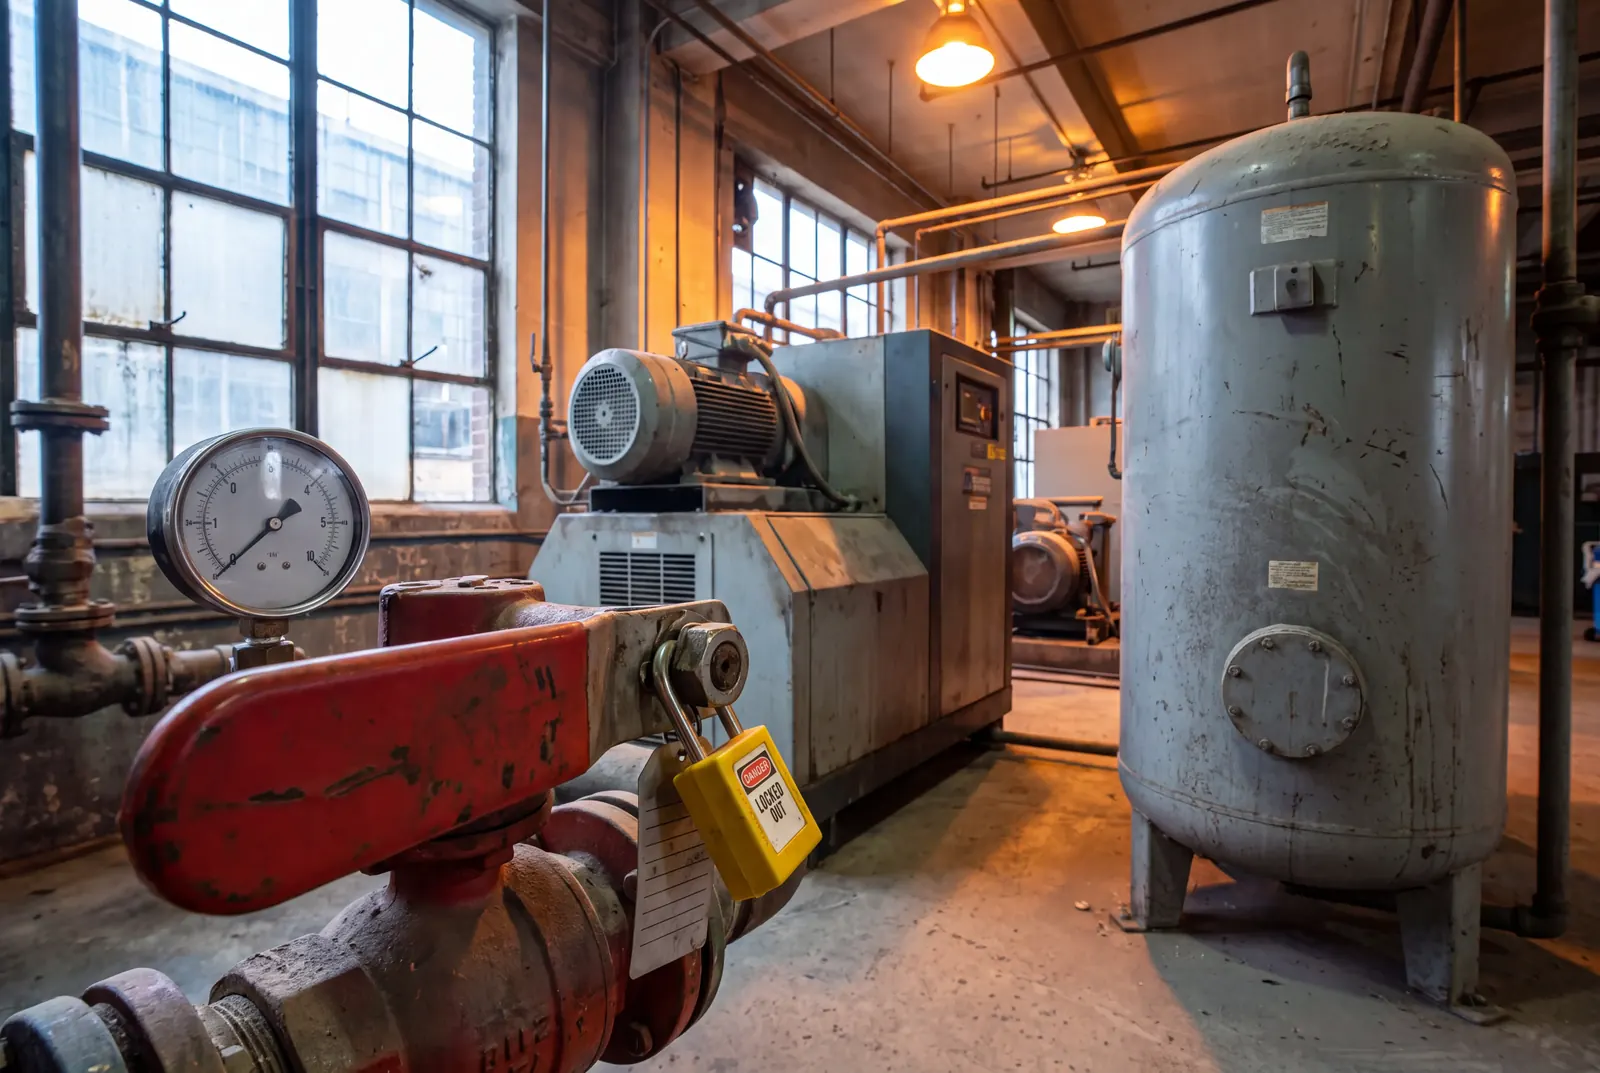 Plant and process equipmentRotary screw air compressor, Electrical panel, Steam boiler, Centrifugal pump, HVAC rooftop unit and more
-
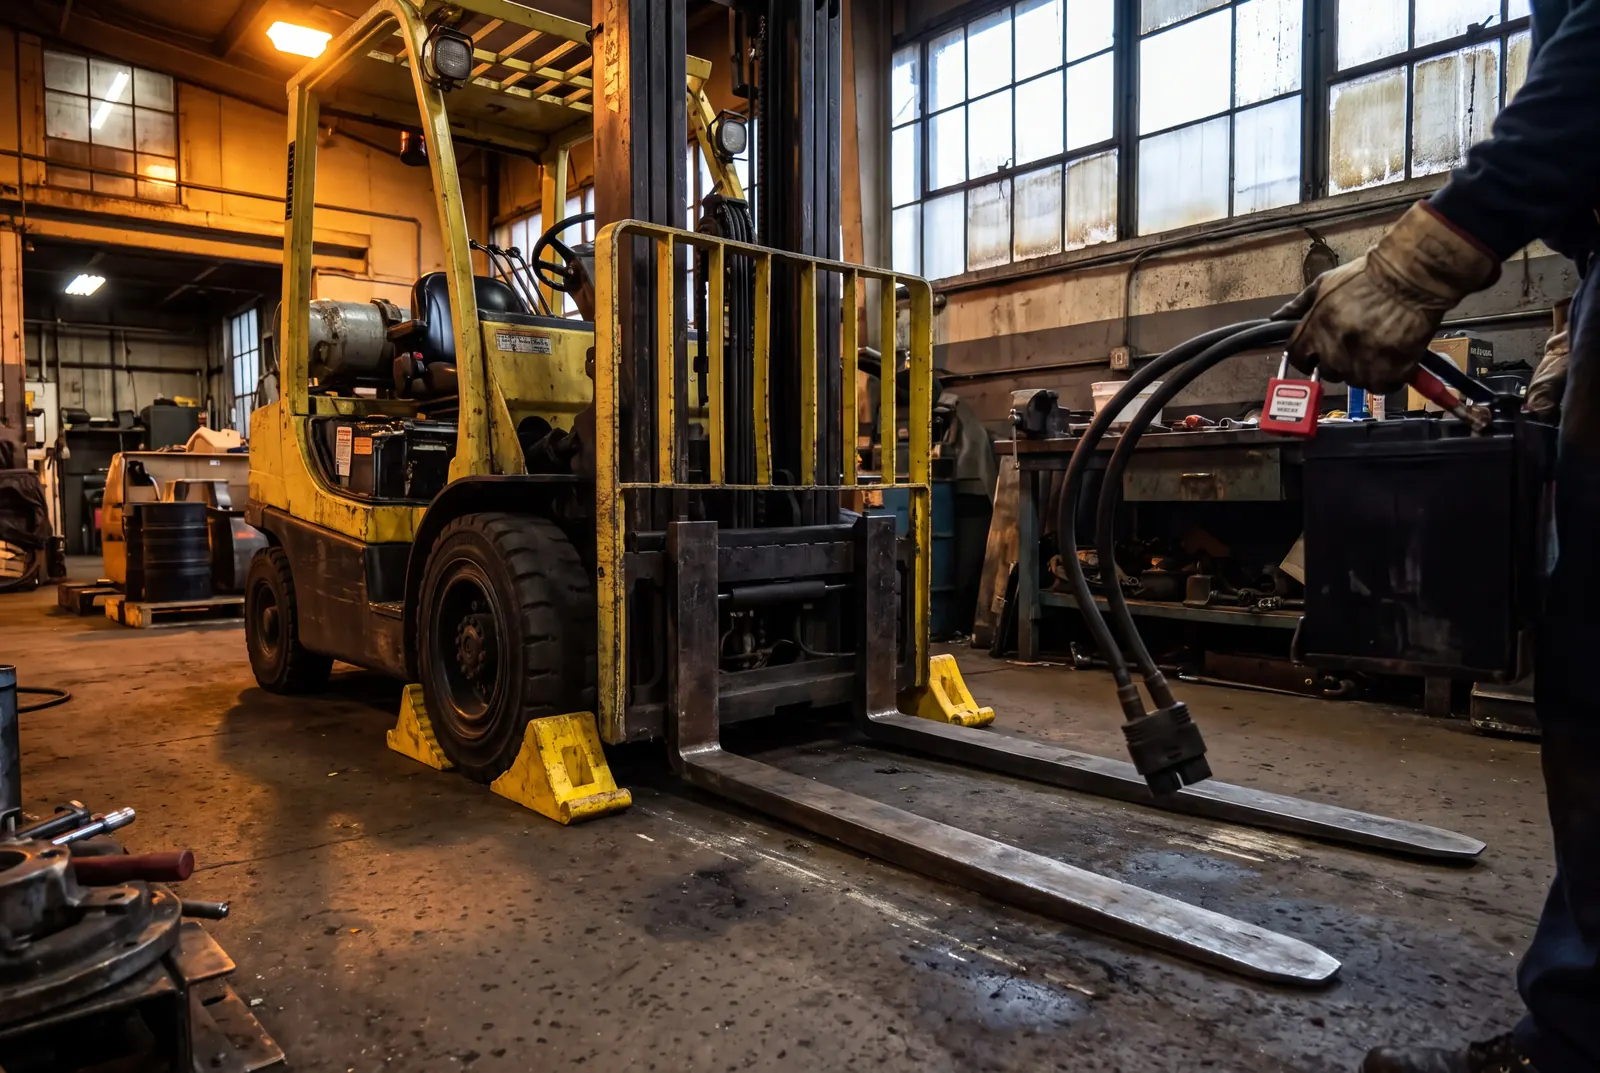 Forklifts, trucks and liftsForklift, Dump truck, Wheel loader or excavator, Scissor lift, Two-post vehicle lift and more
Checked before it prints.
The checks are the parts of the standard people get wrong at the machine.
An E-stop, push button, selector switch or guard interlock never counts as isolation. The disconnect or the valve does.
Air, oil, springs, heat and stored charge are released after the locks go on, and checked again after a break.
A raised ram, bed or platen is blocked before the pressure holding it up is let go.
Every source gets its own zero-energy check, and every control tried goes back to OFF.
Group lockout: each person on their own lock, and only they take it off.
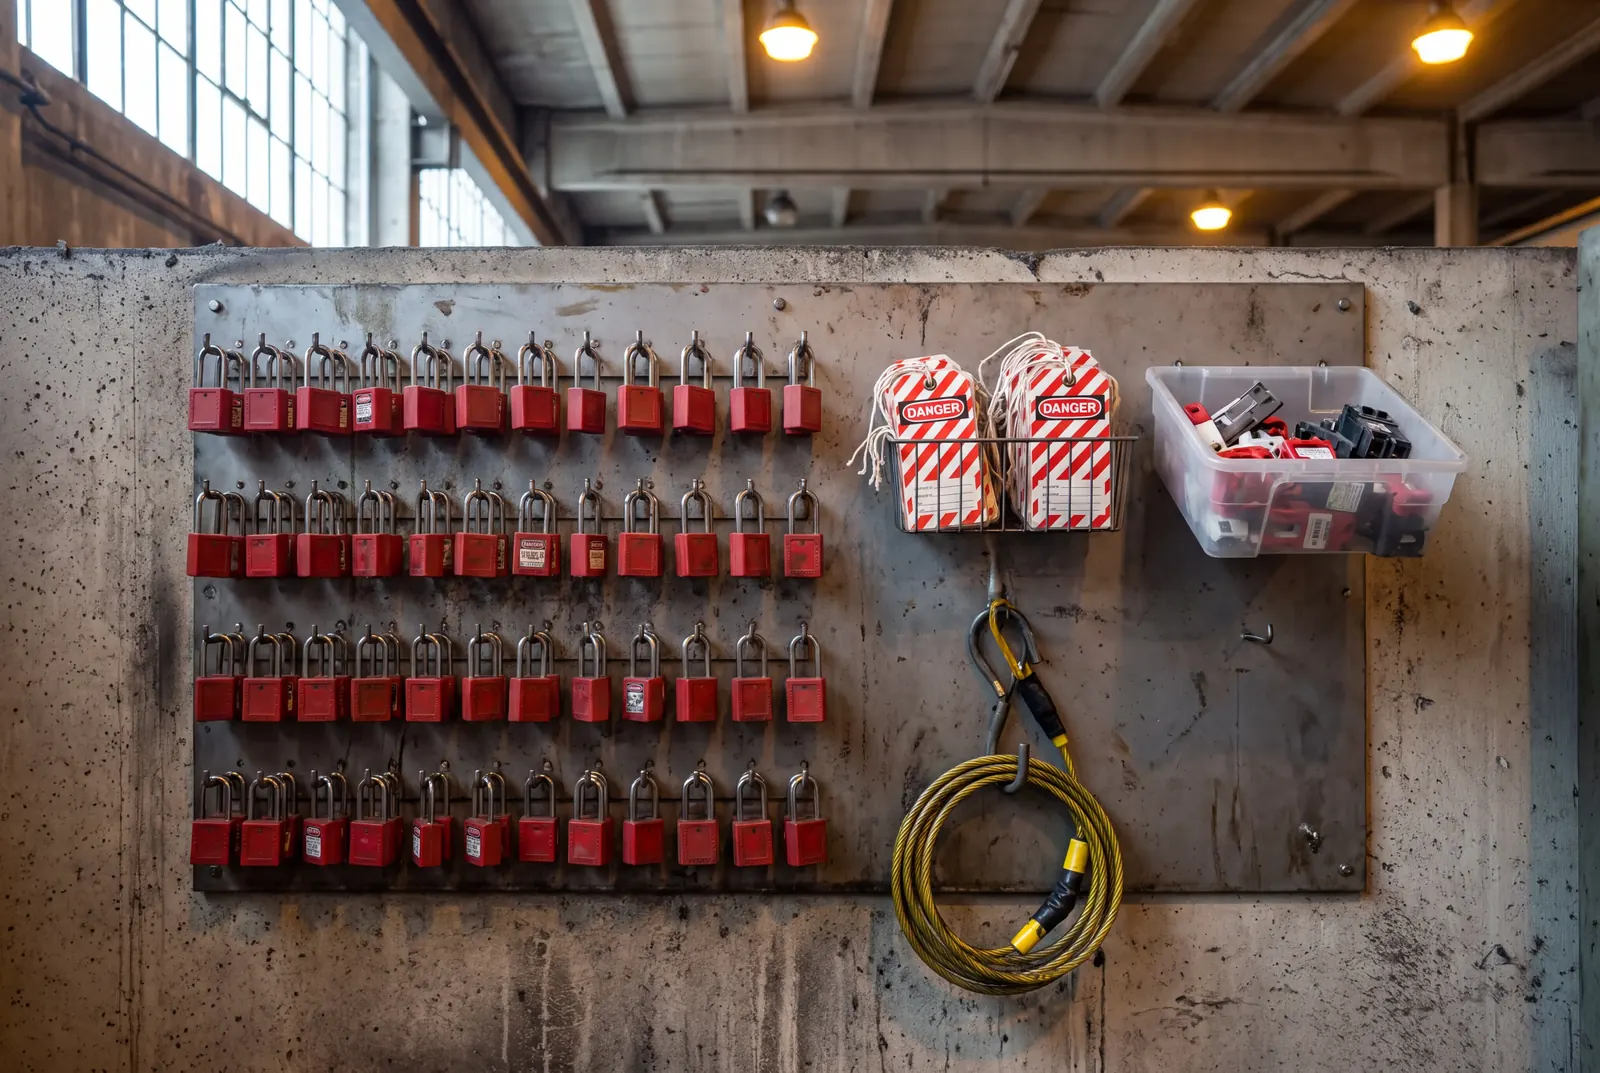
The lockout station
The devices the placards call for. One lock per person, a tag on every lock.
- Master Lock 1457E410KA lockout tagout kitA personal kit for one authorized employee: padlocks, hasps, tags and electrical lockouts in a pouch.Check the current price
- SAFBY safety padlocks, keyed differently, 10 packOne lock per person, numbered, each opened only by its own key.Check the current price
- Master Lock 421 group lockout haspSix locks on one isolation point, for a crew working on the same machine.Check the current price
- Electrical lockout kit with clamp-on breaker lockoutsBreaker lockouts that fit single and multi-pole breakers, with hasps and tags.Check the current price
- TRADESAFE adjustable ball valve lockout, 2 packCloses over a ball valve handle from 1/2 to 4-1/4 in pipe, for air, water and gas lines.Check the current price
- WUWEOT plug lockout for 110 and 220 V cords, 3 packEncloses the plug of a corded machine, a slicer or a saw, so it cannot go back in.Check the current price
- TRADESAFE "Danger: Do not operate" tags, 30 packVinyl tags with ties, a line for the name, one on every lock.Check the current price
- Master Lock 1482BP410 covered lockout stationThe wall board by the crib that keeps the locks, tags and devices where the next person finds them.Check the current price
As an Amazon Associate we earn from qualifying purchases.